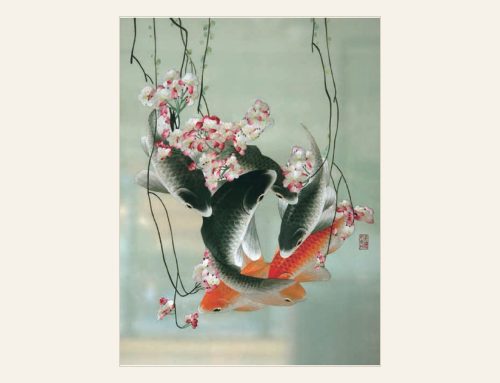
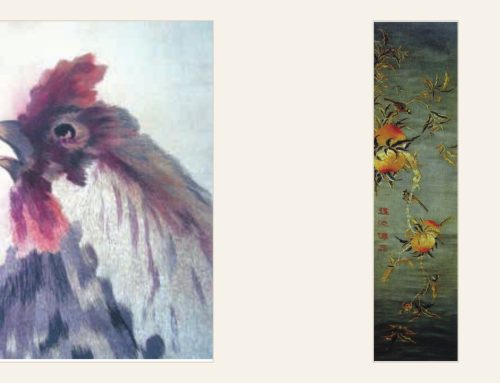
Chinese Embroidery Stitches: Techniques, Materials, and Historical Context
Chinese Embroidery Stitches: Techniques, Materials, and Historical Context
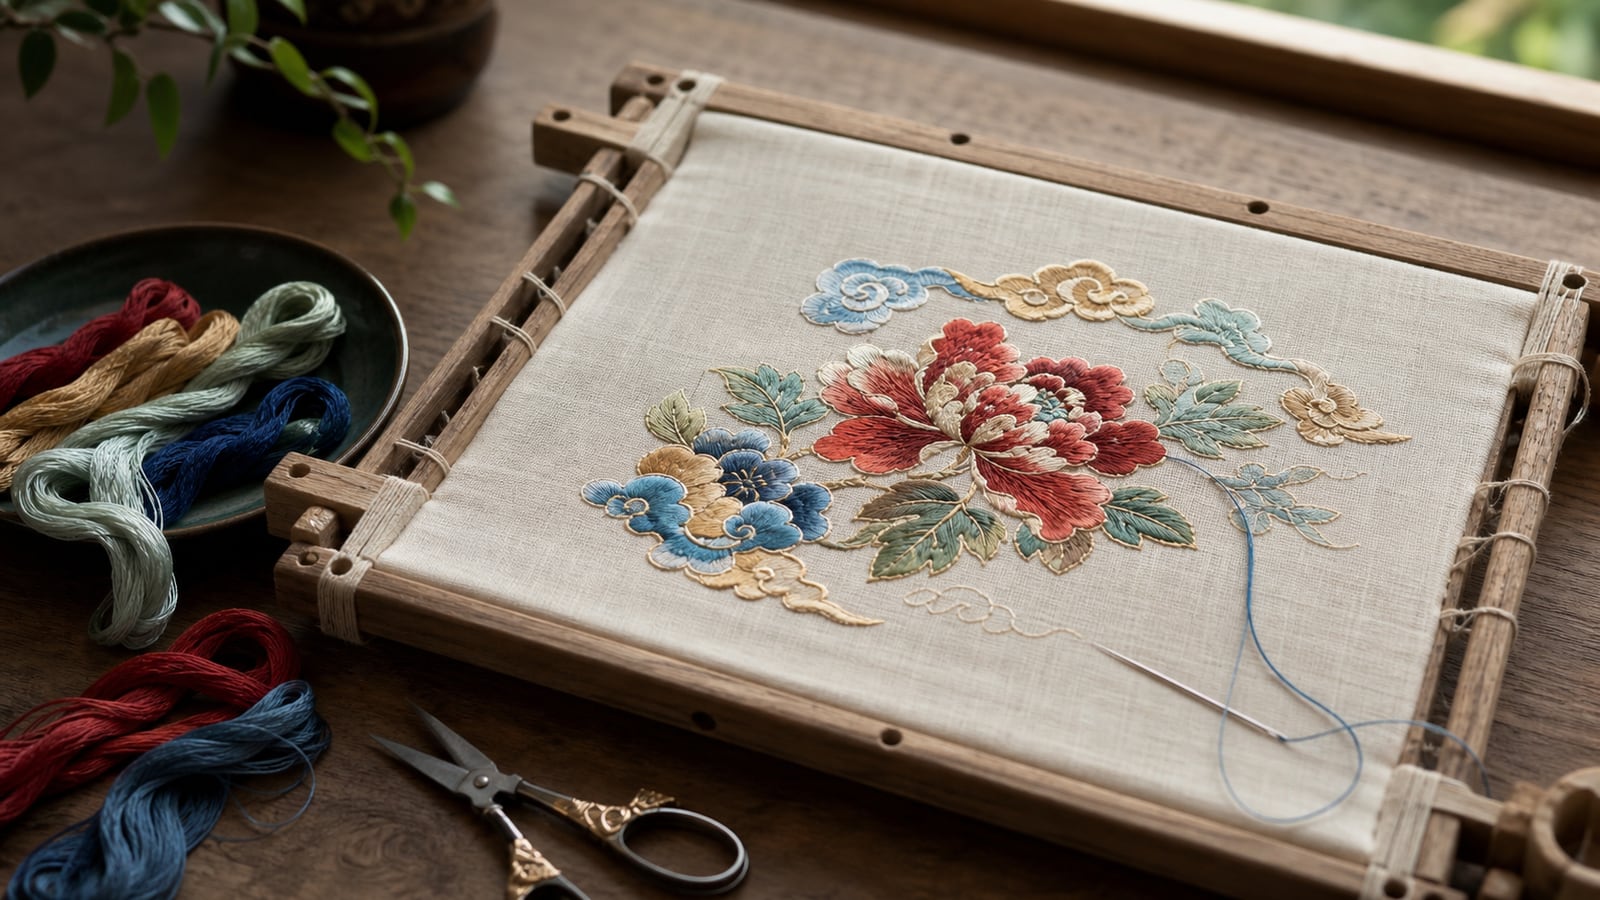
Chinese embroidery is not a single stitch or a single regional style. It is a broad family of textile traditions shaped by different periods, communities, materials, and artistic purposes. Silk is its best-known material, but Chinese embroiderers have also worked with cotton, wool, metal threads, human hair, animal hair, and many kinds of fabric. Their stitches may outline a form, cover a surface, build color gradually, add relief, secure a metal thread, or follow the structure of an open-weave ground.
This guide introduces the tools and materials behind Chinese embroidery, groups important stitches by the work they perform, and places them in a concise historical context. The six stitch families used here are an editorial framework for learning. They should not be read as a claim that every regional or ethnic tradition follows one fixed classification.
What Is Chinese Embroidery?
Chinese embroidery is the art of forming patterns and images on fabric with a needle and thread. It has long served practical, ceremonial, decorative, and artistic purposes. Embroidery may appear on clothing, household objects, religious textiles, court dress, accessories, or works made primarily for display.
What distinguishes a refined work is not simply the number of stitches it contains. The embroiderer coordinates stitch direction, thread thickness, spacing, color, sheen, fabric, and design. In pictorial work, the needle can establish an outline, suggest texture, model volume, or create gradual color transitions. In some traditions, very fine silk filaments are separated and recombined so that a surface can be rendered with unusual delicacy.
Chinese embroidery is also plural. Court workshops, urban studios, regional schools, household traditions, and the textile practices of China’s many ethnic communities have developed different materials, motifs, structures, and standards of workmanship. Familiar labels such as Su, Xiang, Shu, and Yue embroidery describe only part of this larger field.
What Makes Chinese Embroidery Distinctive?
Several features recur across important Chinese embroidery traditions, although their use varies.
Thread can be divided for finer control
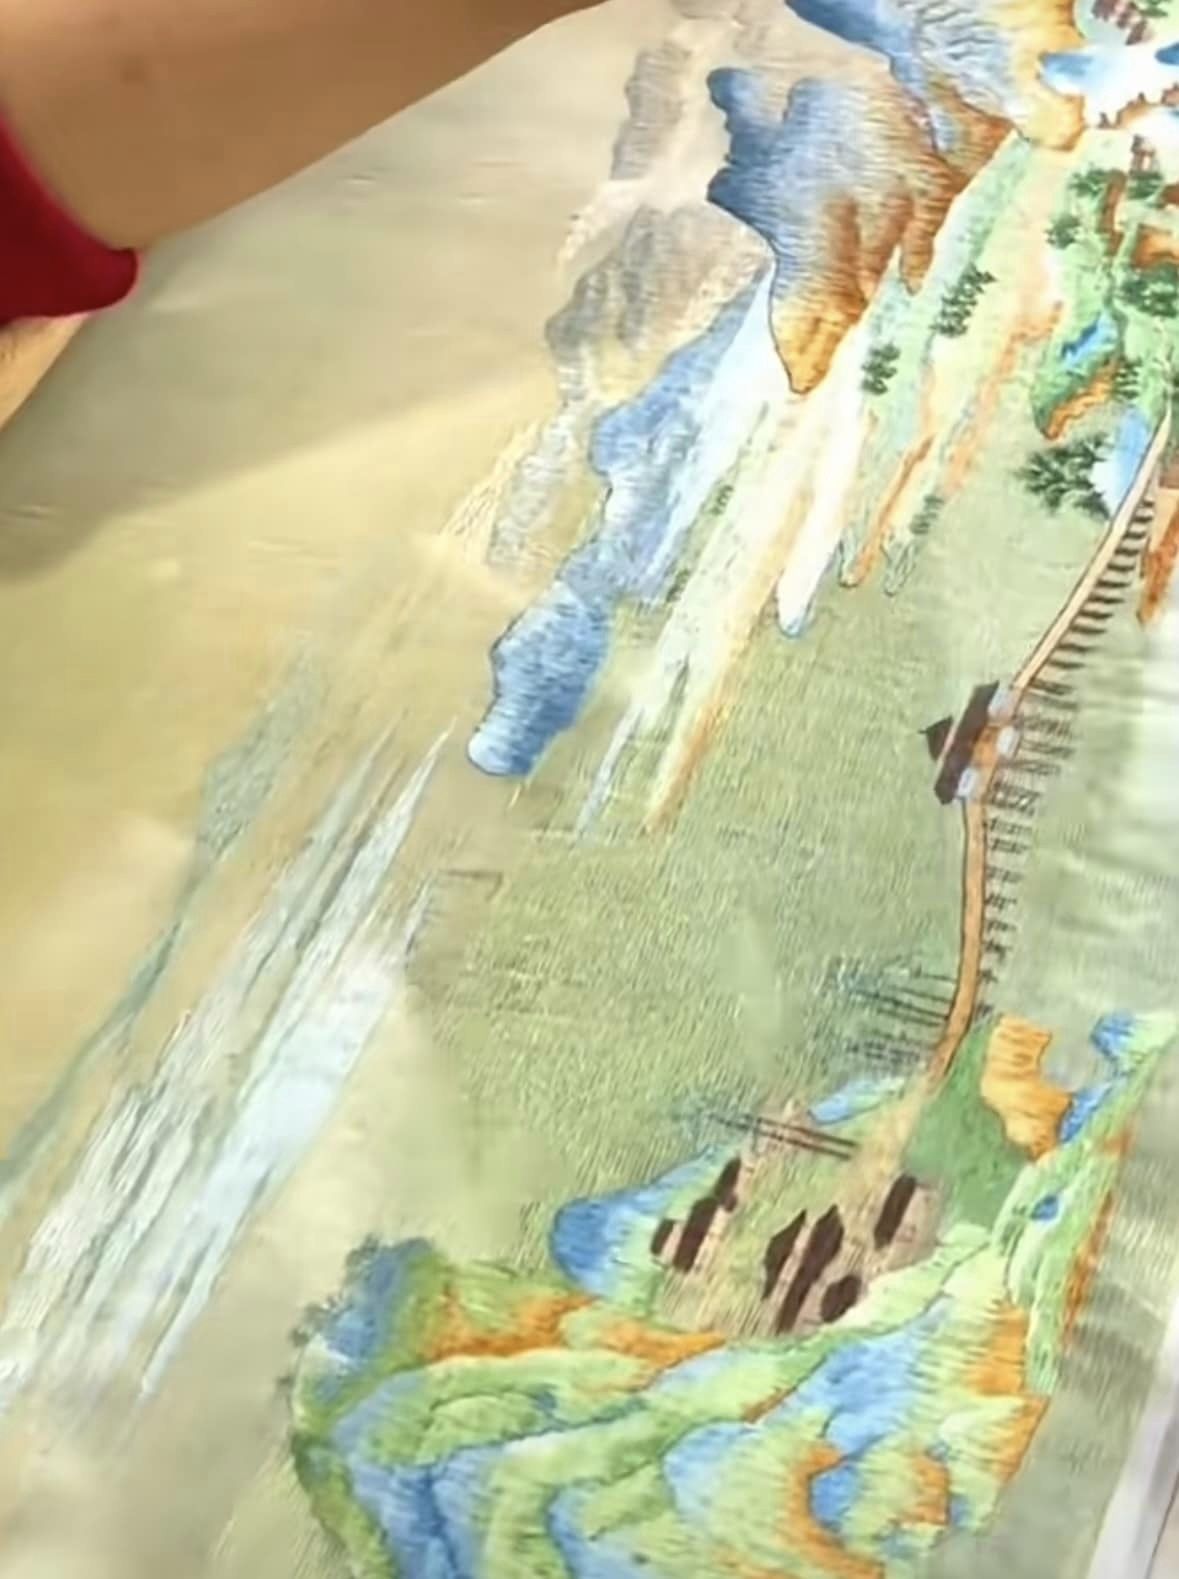
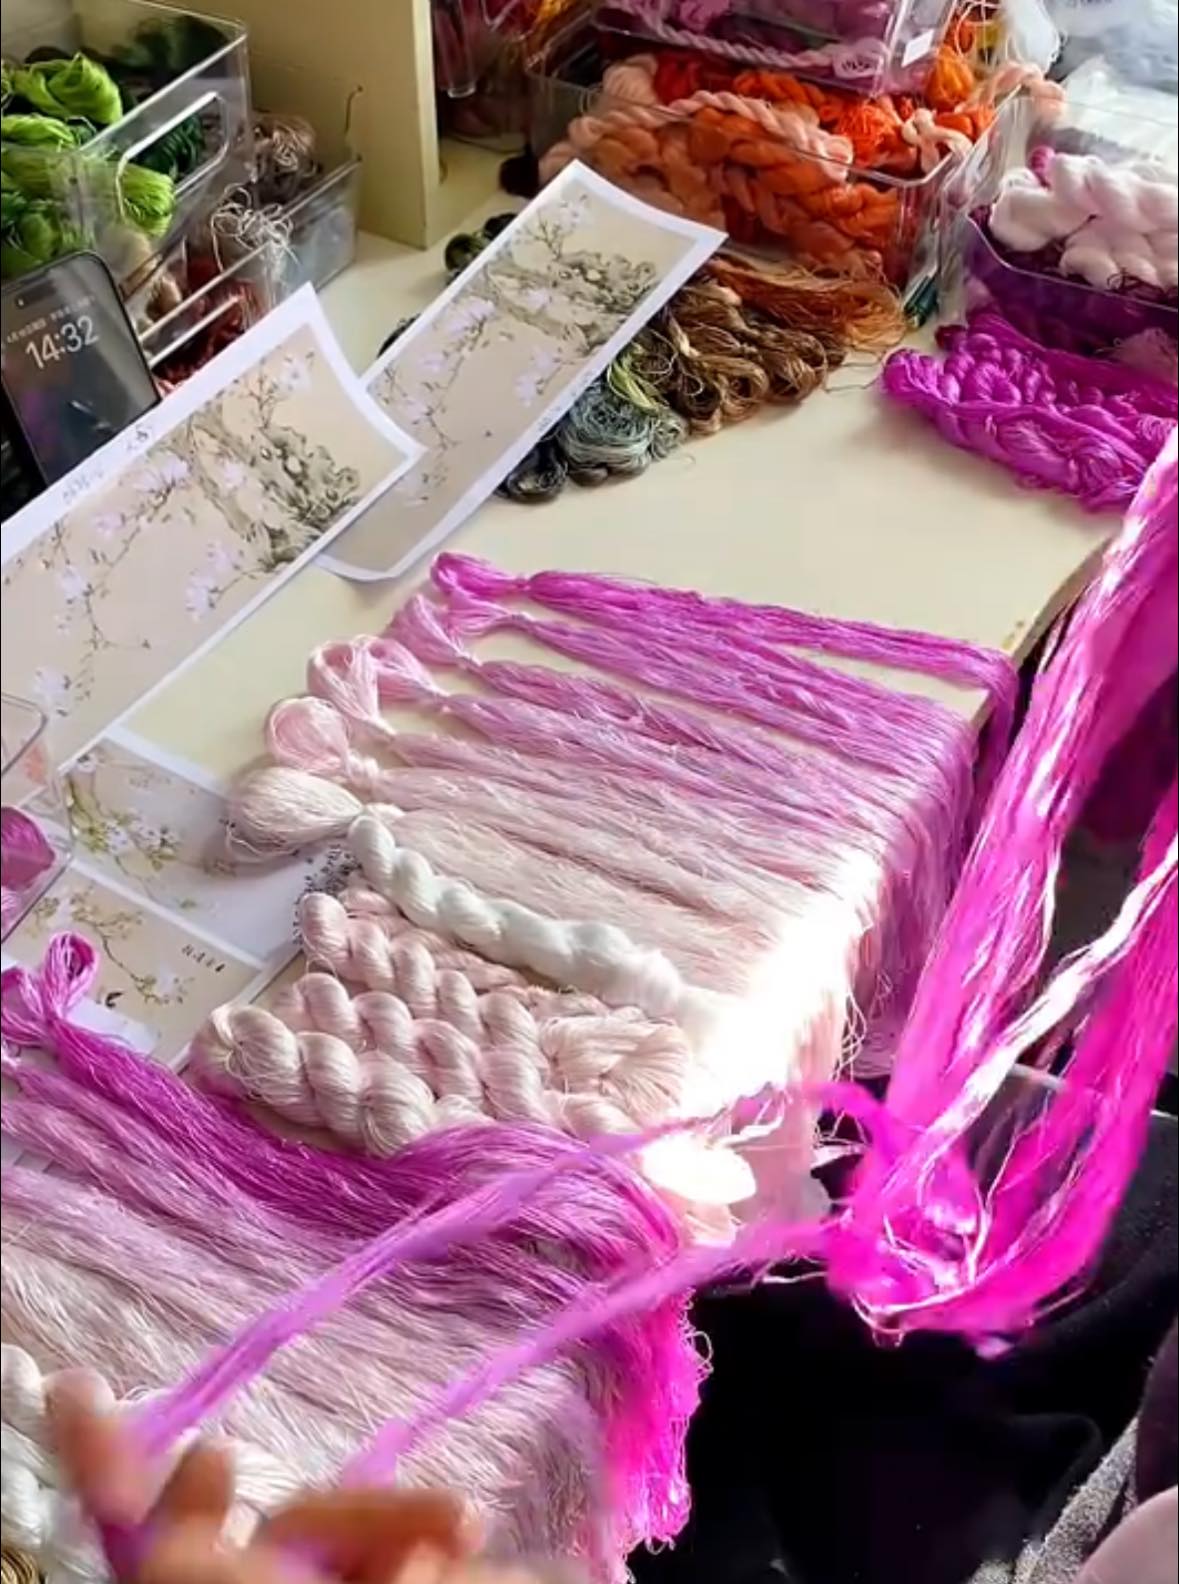
Silk thread may be split into finer filaments before it is used. A finer working thread can produce softer edges, subtler shifts of color, and more precise changes in direction. This is especially important in pictorial embroidery, where the embroiderer may need to suggest fur, feathers, skin, leaves, clouds, or the tonal transitions of a painting.
Stitch direction is part of the image
Stitches do more than fill an outlined area. Their direction affects light, texture, volume, and movement. Parallel stitches may create a calm, polished surface; angled or irregular stitches can suggest turning form, layered feathers, or changing light.
Techniques are selected according to the subject
A single work may combine several stitches. Lines, broad areas, textured details, metal-thread accents, and raised elements each require a different solution. The choice of stitch should support the depicted form rather than draw attention away from it.
Embroidery has a close relationship with painting
Chinese pictorial embroidery often shares subjects, compositions, and critical language with painting and calligraphy. This does not make embroidery a copy of painting. Its visual effects come from textile-specific decisions: the thickness and sheen of thread, the direction of every stitch, the tension of the ground, and the physical layering of materials.
Essential Tools and Materials
The quality of embroidery begins before the first visible stitch. Tools, thread, fabric, and preparation must suit the intended work.
Hoop or embroidery frame
A hoop is useful for small work. A rectangular frame can support a larger textile and maintain more even tension. The ground should be taut enough to remain flat, but it should not be stretched so aggressively that the weave is distorted.
Needles
Needle size should match the fabric, thread, and technique. A heavy thread needs a needle that can pass through the ground without abrasion; very fine silk and dense pictorial work require a finer needle. The eye must accommodate the thread without repeatedly damaging it.
Scissors
Small, sharp embroidery scissors allow the embroiderer to trim thread close to the surface. They should be reserved for thread and kept clean.
Embroidery threads
Silk is valued for its color, smoothness, and changing reflection, but it is not the only option.
- Silk thread can produce a luminous surface and can be divided for very fine work.
- Gold and silver threads, or their imitations, create brilliance but are often too stiff or fragile to pass repeatedly through fabric. They are commonly secured on the surface by couching.
- Cotton thread is strong, washable, and suitable for many everyday textiles.
- Sewing or synthetic thread may be used where strength, color range, or a firm couching thread is needed.
- Hair and other special threads can create distinctive natural tones and textures.
Fabrics
Fabric should be chosen for the function and technique of the work.
- Smooth silk grounds can support refined single-sided pictorial embroidery.
- Sheer silk grounds may be used for double-sided work, where both faces remain visible.
- Cotton and cotton-linen fabrics are durable choices for many practical objects.
- Gauze or another open-weave ground provides a countable structure for stitches that follow the fabric grid.
No fabric is universally “best.” The right ground is the one whose weight, weave, surface, transparency, and strength support the intended stitch.
Preparing the Work
Good preparation prevents many problems that cannot be corrected easily later.
Transfer the design carefully
A design may be transferred with tracing or another method appropriate to the fabric. The visible guide should be clear enough to follow but light enough to disappear beneath the embroidery. Valuable or historic textiles require specialist methods and should not be marked with an untested transfer material.
Mount the ground evenly
The fabric should remain smooth and free of wrinkles. Uneven tension can make stitches pucker, distort an outline, or produce a surface that will not lie flat after it is removed from the frame.
Control reverse-side bulk
In fine pictorial embroidery, excess bulk on the reverse can interfere with mounting and make the surface uneven. The correct start and finish depend on the ground, thread, stitch, object, and intended use. A washable household textile has different structural needs from a framed work made for display.
Divide silk consistently
When silk is split into finer filaments, the selected thickness should remain consistent within a passage unless the design calls for a deliberate change. Thread that has been damaged, twisted unevenly, or handled excessively will reflect light differently from the surrounding stitches.
Preparation is the point at which general knowledge becomes physical skill. Design transfer, mounting, starts and finishes, silk division, hand position, and tension control are best learned through demonstration, guided practice, and correction rather than through a short written summary.
Six Families of Chinese Embroidery Stitches
The following groups explain what the stitches do and how to recognize their roles. They are a practical route into a much larger vocabulary. Mastery also depends on needle path, working order, tension, transitions, and correction — skills best learned through demonstration and guided practice.
1. Line and Outline Stitches
Line stitches define contours, stems, veins, lettering, and narrow details. Their spacing and length determine whether a line appears fluid or rigid.
Running stitch
Running stitch passes in and out of the fabric at intervals. It can form a simple broken line, secure another material, or contribute to a repeated pattern. Its apparent simplicity makes even spacing and controlled tension especially visible.
Chain stitch
Chain stitch forms a sequence of linked loops. It can follow a curved outline, fill an area when arranged densely, or create a strong decorative line. Closed, open, and historically derived variations change the width and relationship of the loops.
Stem stitch
Stem stitch joins slightly overlapping stitches into a continuous line. It is useful for stems, curved contours, and details that need a smooth sense of movement.
Split stitch
In split stitch, the needle divides or enters the previous stitch. The result is a firm line that can follow leaves, stems, lettering, feathers, and other detailed forms.
2. Surface, Satin, and Shading Stitches
These stitches cover fabric and control color over a wider area. Their direction, density, and overlap can make a flat shape appear luminous or three-dimensional.
Straight satin stitch
Closely placed straight stitches cover the ground with a smooth surface. The edges must remain controlled, and the stitches should follow a deliberate direction. Long unsupported spans can loosen or snag, so larger forms may need to be divided into smaller sections.
Encroaching satin stitch
Bands of straight stitches overlap or connect in successive layers. By changing thread color from one band to the next, the embroiderer can create a clear transition between light and dark. Different variants alter the spacing and visibility of the joins.
Slanted satin stitch
The stitches are laid at an angle rather than strictly vertically or horizontally. Changes in angle allow the embroidery to turn around petals, leaves, and small forms while controlling how silk reflects light.
Shaded satin stitch
Shaded satin stitch uses planned changes in stitch length, placement, and color to create gradual transitions. Regular arrangements can produce a polished rhythm; more irregular arrangements can soften boundaries and make the change of tone appear natural.
Sparse stitch
Sparse stitch leaves measured spaces between threads. The fabric remains part of the visual effect, and the open structure can suggest transparency, lightness, or a different texture within a composition.
3. Edge, Leaf, and Crossed Structures
These stitches build recognizable structures through crossing, branching, or repeated edge treatment.
Blanket stitch
Blanket stitch anchors a looped edge and can be adapted into decorative lines or filling patterns. Its basic, curved, and long-and-short variations respond to different contours.
Fishbone stitch
Alternating slanted stitches meet along a central axis, creating a structure similar to a fish skeleton. It is particularly useful for leaves and feathers. Open and raised variants change the density and relief.
Cross stitch and free cross stitch
Crossed stitches can be repeated to form geometric or pictorial patterns. Some forms follow the count of an even-weave ground, while others are arranged more freely. Chinese traditions include cross-shaped structures that should not be reduced to a single modern kit-based method.
4. Knots, Beads, and Raised Texture
Small raised units create texture, relief, and points of emphasis.
Knot stitch
The thread is coiled or knotted so that each stitch forms a small raised unit. Repeated knots can create a dense, durable, relief-like surface. Variations change the looseness, tail, or regional character of the knot.
Bullion knot
The thread is wrapped to form an elongated or circular coil. Even wrapping and controlled tension are essential: a well-made bullion should appear full and regular without loose, misshapen loops.
Bead work
Beads can be attached with running, stem, back, or couching methods. The attachment stitch must support the bead without cutting the ground or leaving unstable gaps.
5. Couching, Metal Thread, and Surface Decoration
Some materials are laid on the surface rather than pulled repeatedly through the ground.
Gold and silver thread couching
Gold, silver, or imitation metal thread is arranged on the fabric and held in place by smaller tacking stitches. The spacing and color of the couching thread affect both security and appearance. Couching is structurally necessary, but it can also become part of the design.
Twining thread couching
A firm core is wrapped with a finer colored material to create a special thread. The finished thread is then arranged on the surface and secured. Peacock-feather and horsetail-based threads are among the special materials discussed in historical and technical literature, but their preparation and conservation require expert knowledge.
Coiling stitch
A thicker thread is formed into a coil and secured by a finer thread. The contrast between the structural thread and the tacking thread can add color as well as relief.
Net and weaving stitches
Net stitch builds an angular network whose intersections are secured. Weaving stitch interlaces threads to create a textile-like structure on top of the ground. Both can introduce strong geometry into an embroidered surface.
6. Counted, Filled, and Applied Structures
These techniques rely on the weave of the ground, repeated geometric filling, or the addition of another piece of fabric.
Counted stitch over gauze
The embroiderer counts the openings or threads of a gauze ground and places vertical, horizontal, or diagonal stitches according to that structure. Some designs leave the gauze visible; others cover larger areas. Accurate counting and balanced tension are essential because errors can disturb the geometry or pull the open ground out of shape.
Battlement filling
Threads are repeated along an internal geometric framework. The resulting pattern can resemble brocade and produce a shallow relief.
Appliqué
A separately cut fabric shape is attached to the ground. Its edge may be secured or decorated with chain stitch, blanket stitch, or metal-thread couching. Appliqué can create bold areas of color while reducing the need to fill the entire shape with thread.
How Chinese Embroidery Stitches Changed Through History
For a fuller chronological overview, explore A Brief History of Chinese Embroidery.
The history of embroidery cannot be reconstructed from textiles alone. Silk, wool, plant fibers, leather, dyes, and threads are organic materials, so their survival depends heavily on burial and storage conditions. Archaeological finds, historical texts, paintings, and later surviving works must therefore be read together.
Early textile and stitching traditions
Needles, sewing, woven materials, and body or garment decoration all form part of the long background from which embroidery developed. Stories about the invention of embroidery are culturally important, but they should not be presented as archaeological proof.
Warring States and Han periods
Surviving textiles from ancient tombs show increasingly sophisticated pattern, color, and stitch control. Chain-like structures are strongly associated with early Chinese embroidery, while straight stitches and named decorative patterns became more prominent by the Qin and Han periods.
From the Six Dynasties to the Tang
Embroidery expanded in religious, ceremonial, and decorative settings. Buddhist imagery, clothing, and household use encouraged new combinations of materials and stitches. Trade and cultural exchange also connected Chinese textiles with a wider Asian world.
The Song period
The Song period is especially important to the development of embroidery made for artistic appreciation. Embroiderers responded closely to painting, used stitches according to the depicted subject, and created works that could be mounted and viewed in formats associated with painting and calligraphy. Technical literature connects several mature shading, knot, and counted-gauze practices with this period.
Yuan, Ming, and Qing developments
Special materials, court production, religious textiles, garments, regional workshops, and pictorial embroidery continued to diversify. Gu-style embroidery became an influential literati-associated tradition in the Ming period. Under the Qing, court and regional production flourished alongside many household and ethnic textile traditions.
Modern and contemporary practice
Modern embroiderers have preserved historic stitches while also developing new ways to represent light, portraiture, animal fur, painting, and double-sided images. Contemporary practice includes studio art, teaching, conservation, design, and community-based transmission. It should be understood as a living field rather than only as a remnant of the past.
How to Recognize Fine Workmanship
No single checklist can judge every embroidery tradition, but several questions help a viewer look more carefully.
- Are the stitches controlled? Lines should support the design without accidental gaps, crowding, or uneven tension.
- Does the surface lie flat where it should? Puckering may indicate unsuitable tension, thread, or ground.
- Do the colors work together? Gradation should feel deliberate, and transitions should support the depicted form.
- Does the direction of the thread make sense? In pictorial work, stitch direction should describe volume, movement, or texture.
- Is the thread thickness appropriate? Fine details require enough control to avoid blunt edges, while structural passages must remain durable.
- Are techniques combined intelligently? Variety is valuable only when each technique has a purpose.
- Is the work clean and stable? Stains, loose threads, abrasion, fading, and distortion affect both appearance and preservation.
- Does the work have a coherent character? A strong embroidery is more than technically difficult. Materials, stitches, image, and purpose should belong together.
Basic Care and Preservation
Historic, valuable, or fragile embroidery should be assessed by a qualified textile conservator. Do not wash it, apply household stain removers, tape it, glue it, or mount it permanently without professional advice.
For ordinary modern embroidery:
- handle it with clean, dry hands;
- protect it from prolonged direct sunlight;
- avoid damp conditions and rapid changes in temperature or humidity;
- keep dust away without sealing moisture inside;
- support the textile rather than hanging a weak fabric from a few points;
- store it with clean, stable, conservation-appropriate materials.
The correct treatment depends on the fiber, dye, metal content, backing, previous repairs, and intended use. A method that is acceptable for a new washable cotton object may permanently damage an old silk or metal-thread textile.
Frequently Asked Questions
Is Chinese embroidery always made with silk?
No. Silk is historically important and especially suitable for luminous, finely divided thread, but Chinese embroidery also uses cotton, wool, linen, metal threads, hair, beads, and other materials.
How many Chinese embroidery stitches are there?
There is no single fixed total. Names and classifications vary by region, period, workshop, language, and publication. A practical guide may group several dozen foundational stitches and many more variations.
Which stitches are suitable for beginners?
Running stitch, chain stitch, stem stitch, and small areas of straight satin stitch are useful starting points. Beginners should practice even tension and stitch direction before attempting complex shading, metal-thread couching, or double-sided pictorial work.
What does it mean to split silk thread?
It means separating a silk thread into finer filaments and using only part of its original thickness. This gives the embroiderer more control over edges, texture, and color transitions.
What is double-sided Chinese embroidery?
In double-sided embroidery, both faces are intended to be seen. The embroiderer must manage starts, finishes, thread paths, and color so that the reverse does not read as an unfinished back. More advanced forms may show different colors, designs, or images on the two sides.
What is gold-thread couching?
It is a surface technique in which a gold, silver, or imitation metal thread is laid on the fabric and secured with smaller stitches. The metal thread usually remains on the surface because repeated passage through the ground would damage it or the fabric.
Are the “Four Famous Embroideries” the whole of Chinese embroidery?
No. Su, Xiang, Shu, and Yue embroidery are an influential modern grouping, but China also has many other regional, court, household, religious, and ethnic embroidery traditions.
Can old embroidery be washed at home?
Not safely as a general rule. Water can move dyes, distort silk, corrode metal, release old adhesives, or damage earlier repairs. Valuable or historic embroidery should be examined by a textile conservator before cleaning.
Continue Learning with the Chinese Embroidery Institute
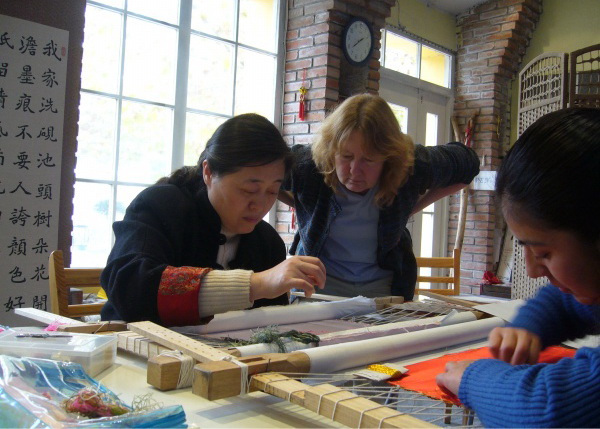
Recognizing a stitch is different from controlling it in a finished work. Structured instruction can show how the hand, needle, thread, fabric, and frame work together; how tension and direction change the surface; and how an error can be identified before it spreads through a larger passage.
Visit Classes & Courses to see current learning options from the Chinese Embroidery Institute.
Institute publication and editorial basis
This article extends the Chinese Embroidery Institute’s existing research and editorial work. The two publications listed below were written by Shao Xiaocheng. For The Illustrated Art of Embroidery (《图说刺绣艺术》), Yao Xiao (Martin Xiao) served as responsible editor.
- Shao Xiaocheng, Chinese Embroidery: An Illustrated Stitch Guide. Better Link Press, 2014. Technical structure used for the introduction, tools and materials, foundational preparation, stitch terminology, projects, and care.
- 邵晓琤,《图说刺绣艺术》,中国青年出版社,2020 年第一版(所查文件为 2022 年印次)。Historical framework used for period development, representative works, regional and ethnic traditions, modern transmission, and the illustrated appendix of common stitches.
Leave your comment
Related posts